I recently started to do some development on some Rails4.0 based apps. Setting up a nice and clean Rails environment can be a hassle. The OSX/Windows instructions form railsinstalelr.org install an old version and are not working with Maverick, other instruction install macports; which I don’t like at all. So for OSX I followed the instructions on http://www.createdbypete.com/articles/ruby-on-rails-development-setup-for-mac-osx/
I assume a working brew to begin with.
Update brew
Install Ruby with rbenv
OS X comes with Ruby installed (Mavericks even gets version 2.0.0, previously it was only 1.8.7), as we don’t want to be messing with core files we’re going to use the brilliant rbenv and ruby-build to manage and install our Ruby versions for our development environment.
Lets get brewing! We can install both of the required packages using Homebrew, once done we add a line to our ~/.bash_profile and reload our terminal profile.
Now close terminal and open it again, this ensure everything has been reloaded in your shell.
The package we just installed allow us to install different versions of Ruby and specify which version to use on a per project basis and globally. This is very useful to keep a consistent development environment if you need to work in a particular Ruby version.
We’re going to install the latest stable of Ruby (at the time of writing) you can find this out by visiting the Ruby website. Or to see a list of all available versions to install rbenv install --list.
Let’s set this version as the one to use globally so we can make use of it in our terminal.
Install bundler
or
A very good tip to speed up new app creation and when you use Google to lookup documentation -> skip the docs:
Install Ruby on Rails
So far you’ve installed Ruby, if you’re not going to be working with Rails you can pat yourself on the back and start working with Ruby! If you intend to work with Rails then you’ve just got a couple more things to do.
Install SQLite3
SQLite is lightweight SQL service and handy to have installed since Rails defaults to using it with new projects. You may find OS X already provides an (older) version of SQLite3, but in the interests of being thorough we’ll install it anyway as Homebrew will set it to ‘keg-only’ and not interfere with the system version if that is the case.
Installation is simple with Homebrew:
Install Rails
With Ruby installed and the minimum dependencies ready to go Rails can be installed as a Ruby Gem.
If you would like Rails to be a default gem in the future when you install a new version of Ruby you can add it to the default-gems file.
Test your install
Ready to put all this to good use and start your first project? Good, we’re going to create a new project called hello world.
Now we’re going to set the local Ruby version for this project to make sure this stays constant, even if we change the global version later on. This command will write automatically to .ruby-version in your project directory. This file will automatically change the Ruby version within this folder and warn you if you don’t have it installed.
Note: If your gems start causing problems you can just run gem pristine --all to restore them to pristine condition.
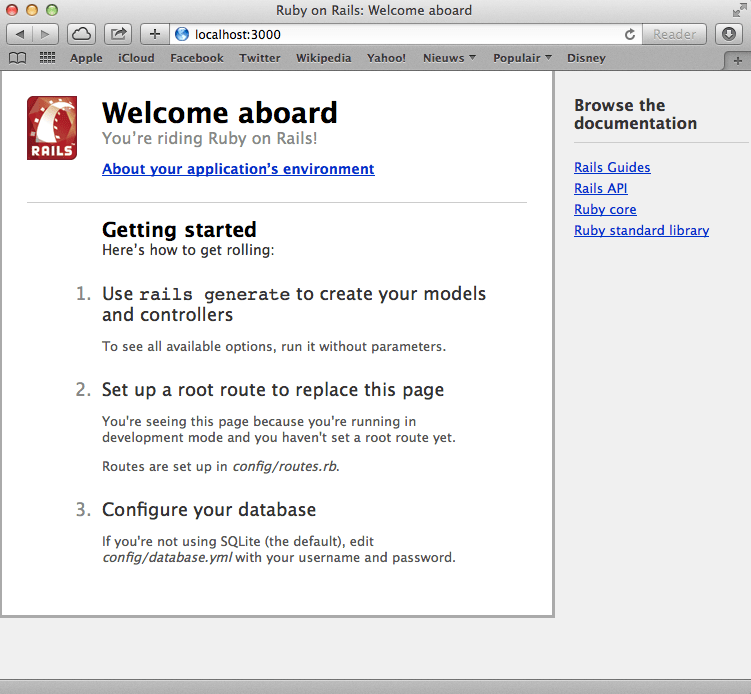
Now let’s test our application is working:
Output:
Screenshot of the Rails hello world app

Related Posts
Quick Links
Legal Stuff
